How to Improve Audio Quality for Home Recordings
- Use high-quality microphones for better sound capture.
- Implement soundproofing techniques to reduce external noise.
- Utilize audio interfaces to enhance connectivity and sound quality.
- Adjust your recording environment for optimal acoustics.
- Post-processing software can significantly enhance recorded audio.
In the age of digital media, having high-quality audio for home recordings is essential for music production, podcasts, or even online content creation. This guide will explore how you can enhance your audio quality using the right gadgets and settings. Whether you're a beginner or have some experience, these tips will help you achieve professional-sounding recordings from the comfort of your home.
Understanding the Importance of Audio Quality
Audio quality is critical in ensuring that your message is not only heard but also appreciated. Poor audio can make even the best content feel unprofessional. Here are just a few reasons why it's important:
- Engagement: Listeners are more likely to engage with clear and crisp audio.
- Credibility: High-quality audio enhances your credibility as a creator.
- Listener Retention: Good audio keeps listeners coming back for more.
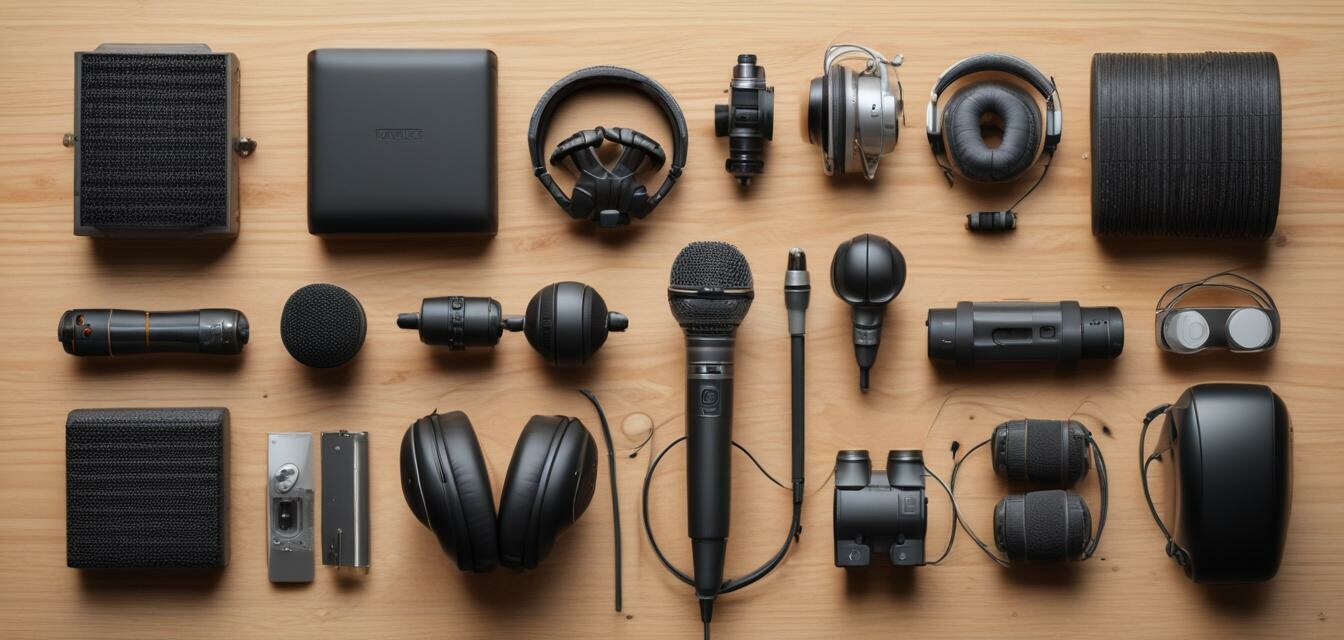
Choose the Right Equipment
Your recording quality largely depends on the equipment you use. Here are some essential gadgets:
| Gadget | Description |
|---|---|
| Microphone | A quality microphone is crucial for capturing sound accurately. |
| Audio Interface | Improves sound quality and connects various audio devices. |
| Headphones | Allows you to monitor your recordings without feedback. |
| Soundproofing Materials | Reduces background noise and enhances audio clarity. |
Setting Up Your Recording Space
Creating a suitable environment for your recordings is just as important as the gadgets you use. Below are some tips for optimizing your space:
- Minimize Echo: Use carpets, rugs, and curtains to absorb sound.
- Reduce Background Noise: Turn off appliances and keep windows closed.
- Positioning: Place your microphone away from reflective surfaces.
Soundproofing Techniques
Here are some effective techniques for soundproofing your home recording space:
- Wall Panels: Installing acoustic panels can significantly reduce echo.
- Foam Wraps: These can be wrapped around your microphone to decrease noise interference.
- Sound Curtains: Heavy curtains can block external noise effectively.
Using Software for Post-Processing
After recording, using software for editing can greatly improve your audio quality. Here are some popular types of software:
| Software | Features | Best For |
|---|---|---|
| Audacity | Open-source, easy to use, multiple track support. | Beginners in audio editing. |
| Adobe Audition | Professional-grade editing, noise reduction, and effects. | Advanced audio editing and production. |
| GarageBand | User-friendly interface for music creation. | Mac users looking to produce music. |
Optimizing Your Recordings
Once you've recorded your audio, you can optimize and enhance the sound further. Here are some effective tips:
- Equalization: Adjust the frequency balance to enhance clarity.
- Compression: Control the dynamic range to maintain a consistent volume.
- Reverb: Add depth but use sparingly to avoid muddiness.
Testing and Fine-Tuning
Always conduct a test recording before starting your main project. Test the levels and make adjustments as needed.
Monitor Your Levels
It’s essential to ensure that your audio levels are not peaking or too low. Here are tips for monitoring:
- Use a VU Meter: This will give you a clear indication of your levels.
- Adjust Input Levels: Make sure your input levels are set correctly on your audio interface.
Conclusion
Improving audio quality for home recordings involves a combination of the right gadgets, proper setup, and effective editing techniques. By following the tips mentioned above, you can significantly enhance your recordings, making them more enjoyable for your audience.
Beginner's Tips
- Start small with just a microphone and headphones.
- Experiment with different settings and placements.
- Don’t hesitate to seek tutorials for software use.
Additional Resources
For more information on gadgets and improving your recordings, check out our other guides on audio gadgets or learn how to set up your home studio in our buying guides section.
Pros
- Professional-quality audio can be achieved at home.
- Many techniques are cost-effective and easy to implement.
- Improving audio quality enhances overall content quality.
Cons
- Initial investment in equipment can be high.
- Requires time to learn editing software effectively.