How to Set Up a Home Studio for Beginners
Key Takeaways
- Choose a suitable space with minimal noise and distractions.
- Invest in essential equipment such as a computer, audio interface, and microphones.
- Consider soundproofing options to enhance audio quality.
- Utilize DAW (Digital Audio Workstation) software for recording and editing.
- Experiment with acoustics to optimize sound for your recordings.
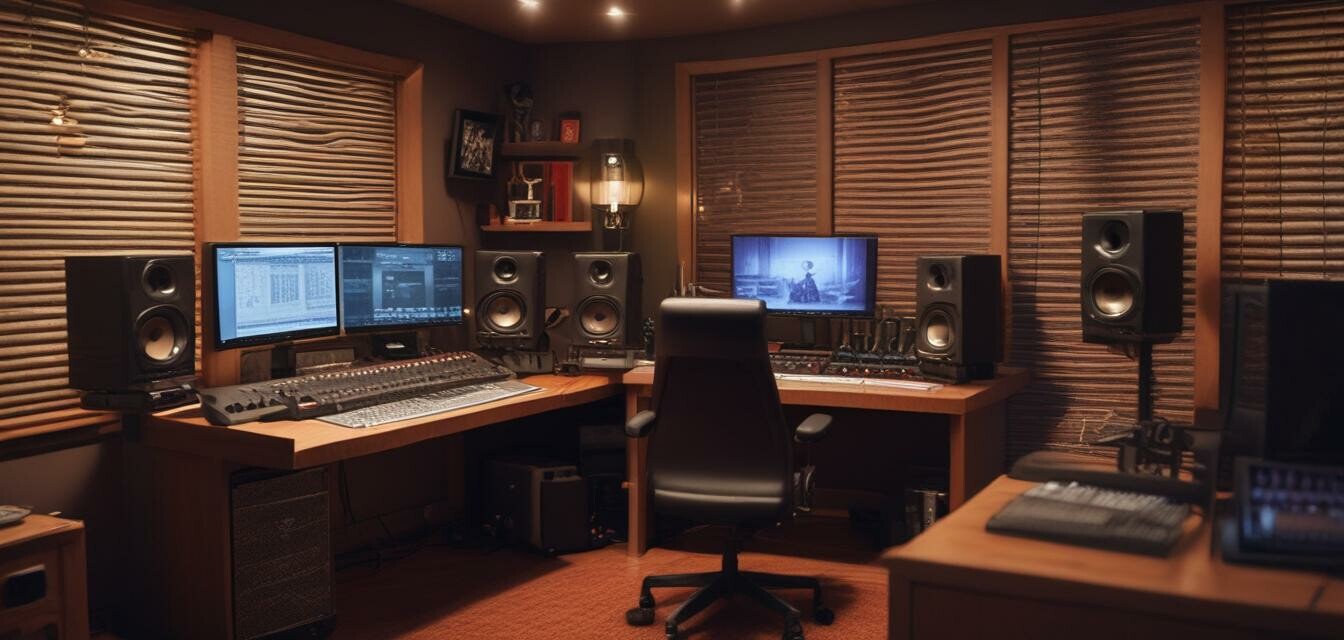
Setting up a home audio recording studio can be both exciting and daunting for beginners. With the right guidance, planning, and equipment, you can create a fantastic space for your musical projects. This guide aims to provide you with everything you need to know about establishing your own home studio.
Step 1: Choosing the Right Space
The first step is selecting the ideal space for your home studio. Factors to consider include:
- Noise levels: Choose a quiet area away from street noise and distractions.
- Size: A larger space allows for more equipment, while a smaller space may require careful planning.
- Comfort: Ensure the space is comfortable, as you might spend long hours working in it.
Step 2: Essential Equipment for Your Home Studio
Once you have your space selected, it’s time to invest in the essential equipment. Here’s a checklist:
| Equipment | Purpose |
|---|---|
| Computer | Used for recording, editing, and mixing audio. |
| Audio Interface | Connects microphones and instruments to your computer. |
| Microphones | Capture vocals and instruments. |
| Headphones | Helps monitor sound without echoing into the mic. |
| DAW Software | Used for recording and editing audio tracks. |
Step 3: Soundproofing Your Studio
Sound quality is essential for a successful home studio. Here are some soundproofing tips:
- Add acoustic panels: These help in absorbing sound and reducing echo.
- Use rugs and curtains: They can help with sound absorption.
- Seal gaps: Check windows and doors for sound leaks.
Step 4: Setting Up Your DAW
Choosing and installing a Digital Audio Workstation (DAW) will be crucial for your recording process. Some popular DAWs include:
- Pro Tools
- Logic Pro
- FL Studio
- GarageBand (great for beginners)
Once installed, familiarize yourself with the interface and tools. Most DAWs offer extensive tutorials online to help you get started.
Step 5: Experimenting with Acoustics
Optimizing the acoustics in your studio can greatly enhance your recordings. Consider:
- Positioning your microphones correctly.
- Experimenting with various placements to see what sounds best.
- Using isolation shields if necessary.
Conclusion
Setting up a home audio recording studio can be a fulfilling endeavor that unleashes your creative music-making potential. By following this guide, you will have a strong foundation and understanding to develop a space that nurtures your musicality. For more tips and tricks, check out our Buying Guides or visit our Audio Gadgets section for gear recommendations!
Tips for Getting Started
- Start with basic equipment and upgrade as you progress.
- Network with other musicians for advice and collaboration.
- Be patient – learning takes time.
Pros
- Cost-effective compared to renting a studio.
- Flexible schedule for recording.
- Convenient access to your equipment.
Cons
- Requires an initial investment in equipment.
- Potential noise distractions at home.
- Learning curve for software and setup.