How to Set Up Your Home Entertainment System
- Choose the right projector for your space.
- Position your devices for optimal viewing.
- Connect audio systems for an immersive experience.
- Always update firmware and software for better performance.
- Test and adjust settings to match your preferences.
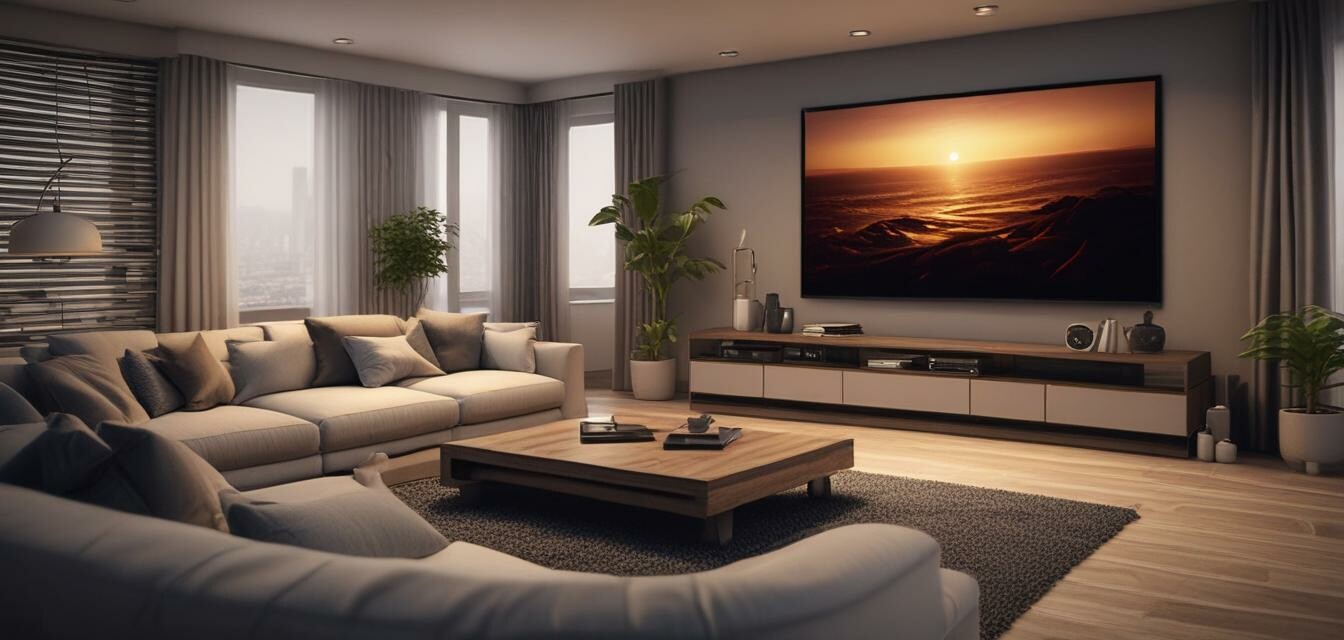
Setting up a home entertainment system can seem daunting at first, but with a bit of guidance, you can create a personalized space that provides hours of enjoyment. This guide will walk you through the steps needed to set up your home entertainment system, including tips on using a projector effectively.
1. Assess Your Space
Before purchasing any equipment, assess the space where you intend to set up your entertainment system. Consider the following:
- Room size and layout
- Placement of windows and light sources
- Existing furniture arrangements
- Your budget
2. Choose the Right Equipment
The core components of a home entertainment system typically include a display device, sound system, and media source. Here’s a breakdown of each:
| Component | Recommended Options | Uses |
|---|---|---|
| Projector | TOPTRO TR27 Mini Projector | Movies, Gaming, Presentations |
| Audio System | Soundbar, Home Theater System | Enhanced Audio Experience |
| Streaming Device | Roku, Amazon Fire Stick | Access to Streaming Services |
 Home Cinema Essential
TOPTRO TR27 Mini Projector
A versatile projector with native 1080P support and 4K capability, perfect for gaming and cinema.
See Product3. Setting Up the Projector
Here are the steps to set up your projector:
- Choose a location with minimal light interference.
- Adjust the projector to the desired angle using the built-in rotating bracket.
- Connect the projector to the media source using HDMI, USB, or wireless technology.
- Utilize the auto keystone correction feature for proper alignment.
Tips for Projector Usage
- Keep the lens clean for clear visuals.
- Ensure proper ventilation to prevent overheating.
- Consider using a projector screen for better image quality.
- Regularly check and update the projector's firmware.
4. Positioning Your Audio Equipment
To enhance your viewing experience, your sound system should be positioned correctly:
- Place the soundbar below the projector or screen.
- Position surround speakers at ear level when seated.
- Use subwoofers to provide deep bass in a corner for better acoustics.
5. Connecting Your Devices
For a seamless experience, connect all your devices:
- Ensure all devices are connected to the same Wi-Fi network for streaming.
- Use HDMI cables for direct connections (best for quality).
- Set up your remote controls for easy access.
6. Adjust Settings for Optimal Performance
Finally, tweak the following settings to get the best experience:
- Adjust brightness and contrast according to the room light.
- Set audio to surround sound mode for immersive experiences.
- Customize your streaming settings for optimal video quality.
Conclusion
Setting up your home entertainment system is an exciting process that, when done right, can transform your viewing experience. Whether you choose to watch movies, play games, or have a casual family movie night, the right setup will bring entertainment to your home like never before!
Pros
- High-quality visuals with projectors.
- Versatile media options.
- Immersive audio experiences.
- Flexible arrangements for space.
Cons
- Requires proper setup time.
- May need additional accessories (screen, mounts).
- Potential light interference issues.